When you need this
A showerhead is one of the easiest fixtures in the house to replace. It's time when the old one is leaking at the connection, spraying unevenly from mineral buildup, cracked, or, like the one in these photos, snapped off at the coupling. It's also one of the cheapest upgrades you can make to a bathroom before listing a house or turning a rental.
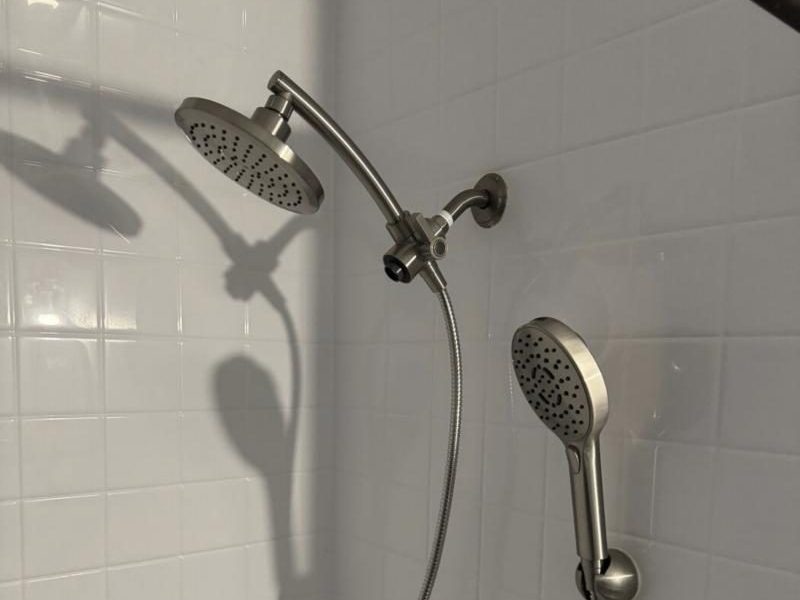
The photos in this guide are from an actual replacement our crew did: an old handheld setup swapped for a dual system with a fixed head and a hand shower on one mount (the allen + roth model 58302-4032 from Lowe's). The steps work the same way for a plain single showerhead.
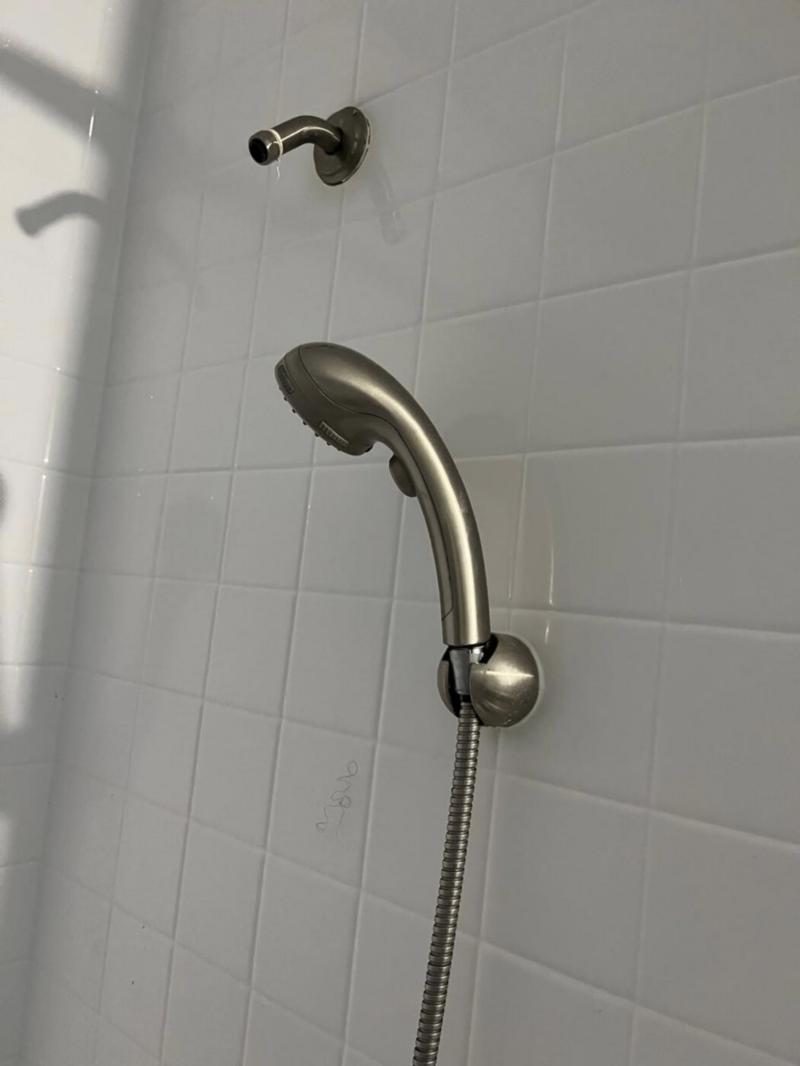
Tape here, washers there
Most leaks after a showerhead swap come from tape in the wrong place, so know this before you start:
- The shower arm threads get thread sealant tape. That's the pipe coming out of the wall. This is the one joint you tape.
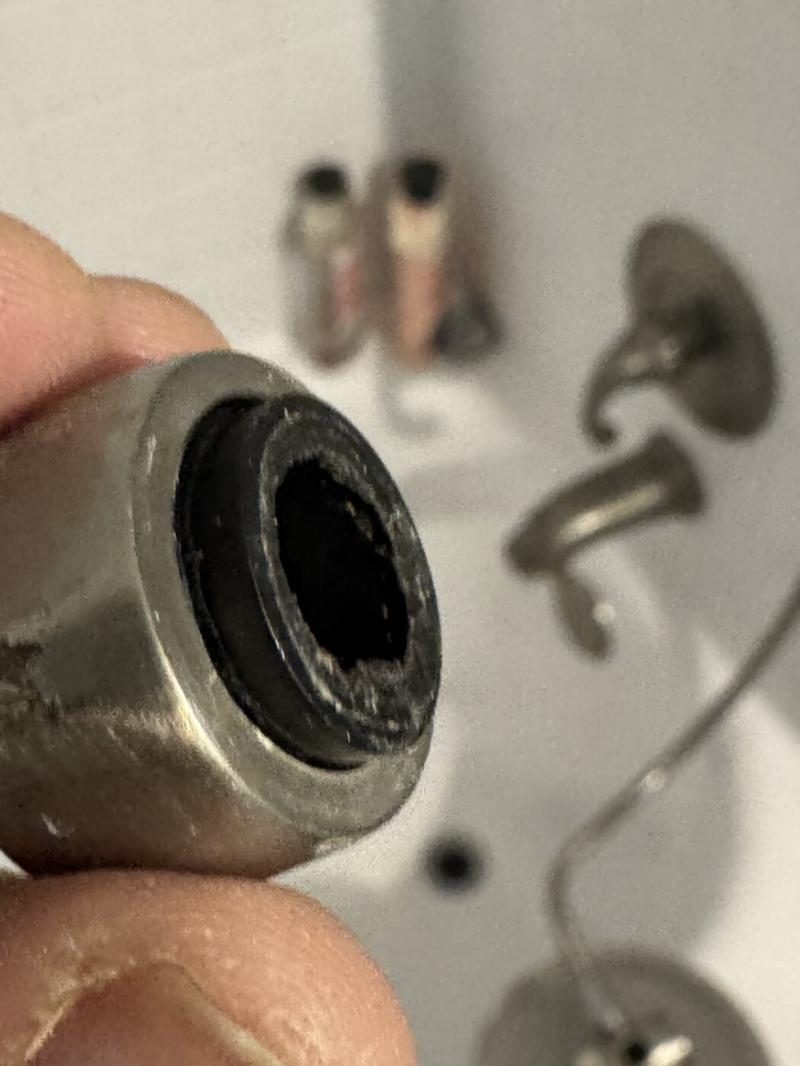
- Everything else seals with a rubber washer inside the connector: the showerhead's ball joint and both ends of a hose. Check that each washer is seated before you thread a part on.
- Hose connections are hand-tight only. Overtightening crushes the washer and can crack the connector.
Step by step
Turn the water off. Make sure the shower is off. The maker of the system we installed says to shut off the main water supply, which is the safe move, especially if the shower valve drips.
Remove the old head and clean the threads. Loosen the old head with a wrench, then unscrew it by hand. Wrap the wrench jaws in a cloth if you're working near a finish you want to keep. Scrub the old tape, mineral scale, and gunk off the shower arm threads with a toothbrush or rag.
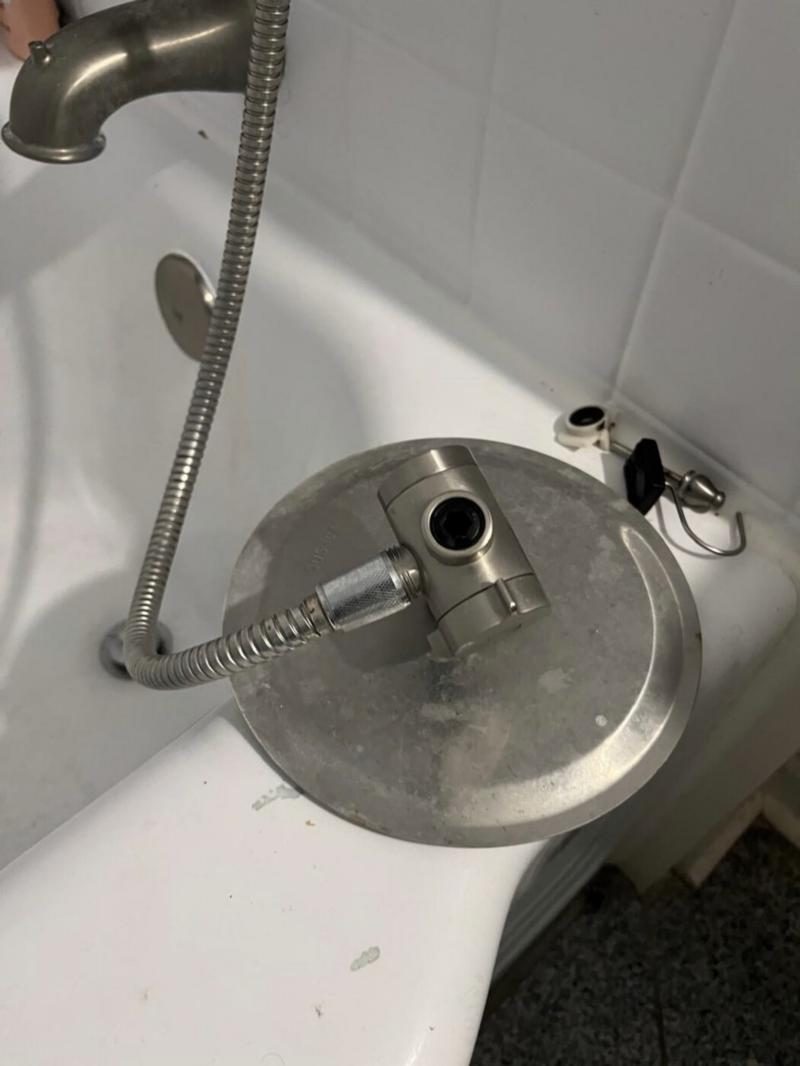
The old mount and hose after removal Tape the shower arm. Wrap thread sealant tape clockwise around the shower arm threads (clockwise as you face the end of the pipe), so it doesn't unravel as you screw the new part on. Two or three wraps is plenty.
Thread on the new head or mount. Screw the showerhead, or the mount for a dual system, onto the arm clockwise and hand-tighten it. On a dual system, hand-tighten the fixed head onto the mount next.
Connect the hose (dual systems). Thread one end of the hose onto the open outlet on the mount and the other end onto the hand shower. Hand-tight only.
Turn the water on and check for leaks. Run the shower and watch every joint. Snug up any joint that drips, a little at a time. Dock the hand shower in its holder.
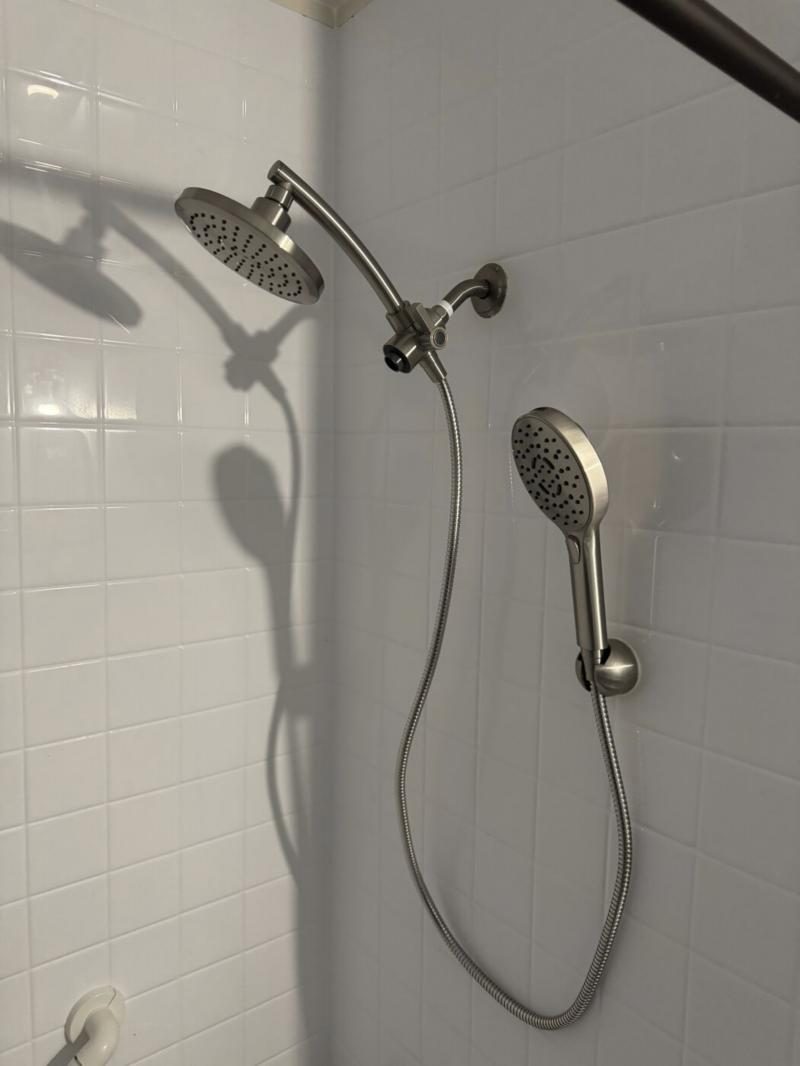
After: fixed head on the mount, hand shower docked
If the old head snapped off
When a head breaks at the coupling, a piece of it can stay screwed onto the shower arm. If what's left has flats a wrench can grip, back it off the arm counterclockwise. Hold the arm steady with a second wrench or by hand so you don't twist it in the wall. If the broken piece won't come off, or the arm threads are damaged, the shower arm itself needs replacing, which is still a common repair but involves the fitting inside the wall.
Common mistakes we see
- Taping every joint. Tape on a washer joint can keep the washer from sealing.
- Wrapping the tape backward. Counterclockwise tape bunches up and unravels as the part threads on.
- Cranking connections with a wrench. Plastic and brass connectors crack, and washers flatten.
- Losing the washer. Washers fall out of new parts easily. Check every connector before you thread it on.
- Skipping the leak check. A slow drip behind a hand shower hose can run for weeks before anyone notices.
When to call a pro
Stop and call a plumber if:
- The shower arm turns, shifts, or feels loose in the wall while you work. The fitting behind the wall may be loose or broken.
- The arm threads are damaged or corroded, not just dirty.
- A joint still leaks after fresh tape or a new washer and a firm hand-tighten.
- You see water damage or moisture around the opening in the wall.
If you have a list of small bathroom fixes, or a rental that needs fixtures refreshed between tenants, we handle these all the time, usually several in one visit.