What is parging?
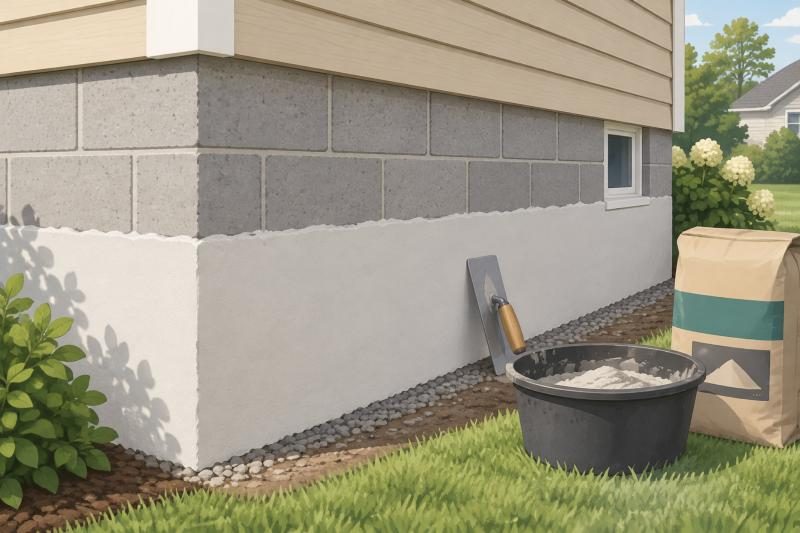
Parging is a thin coat of cement-based material troweled over a masonry foundation wall, usually concrete block. Think of it as a skin for the foundation. It covers the gray block and mortar lines with one smooth, even surface, and it helps the wall shed rain that blows against it.
You see it on most block foundations in North Carolina: the strip of smooth gray or off-white finish between the ground and the siding. Over the years it cracks, flakes, and falls off in patches, and the bare block shows through. Re-parging puts a fresh coat back on.
Parging is mostly protective and cosmetic. That matters, because it's easy to expect too much from it.
| Parging does | Parging does not |
|---|---|
| Give the foundation a clean, uniform look | Fix structural cracks |
| Help the wall shed wind-driven rain | Fix a wall that is bowing, leaning, or shifting |
| Cover small surface flaws and worn mortar joints | Stop water coming through the wall from the soil side |
If your foundation has any of the problems in the right-hand column, deal with those first. A new parge coat over a moving wall will crack again, and a coat over a wet wall will flake off.
Check your wall before you buy anything
Parging is simple on the right surface and a problem on the wrong one. Walk the wall and sort it into these groups:
- Bare, uncoated concrete block. This is what this guide covers. Surface bonding cement mixed with plain water goes right on damp block.
- Brick. Brick is less porous than block, and manufacturers call for a special additive in the mix (QUIKRETE requires its own acrylic fortifier on brick). Don't coat brick with the plain-water mix.
- Painted or sealed areas. Paint and sealer are a hard stop. They have to be stripped to bare masonry, or covered with galvanized metal lath fastened to the wall, before any coat goes on.
- Open joints, cracks, and holes. Patch these with Type N mortar before you coat. See step 2.
Pick the right day
Cement-based coatings don't like extremes. QUIKRETE's rule for QUIKWALL is to not apply it when the forecast within 24 hours goes above 100°F or below 40°F, unless you take hot or cold weather precautions. Check the overnight lows for the next few nights, not just the daytime high, and skip days with rain in the forecast. A mild, overcast day is ideal.
Step by step
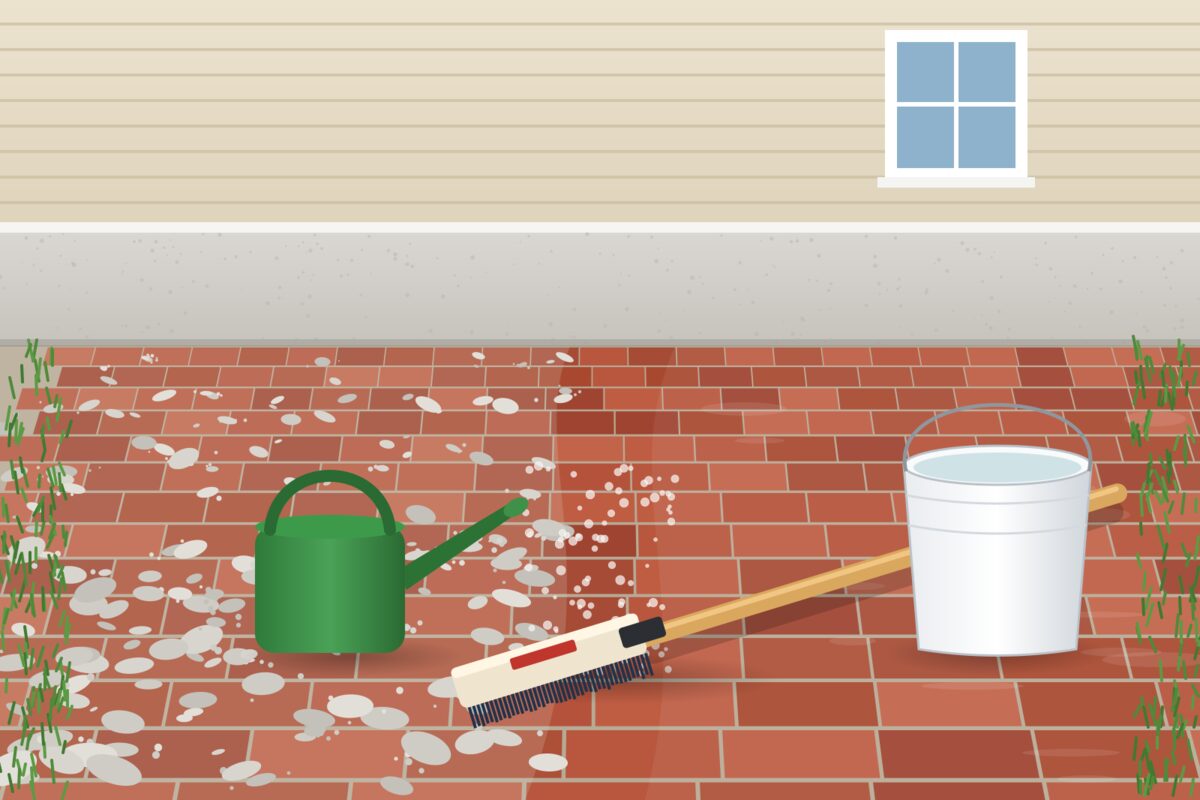
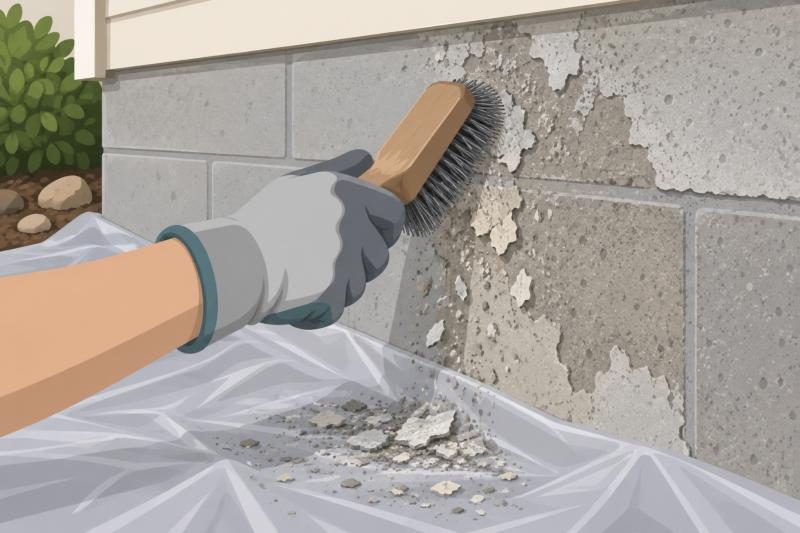
Clean and dampen the wall. Lay plastic sheeting along the base of the wall to catch debris. Scrape and wire-brush off everything loose: flaking old parging, dirt, dust, oil, and the white powdery buildup called efflorescence. Anything that comes off on the brush would have come off under the new coat. Then rinse the wall and let it drain. The block should be damp to the touch with no water standing on it when you coat. Dry block pulls water out of the mix, and the coat cures chalky and cracked.
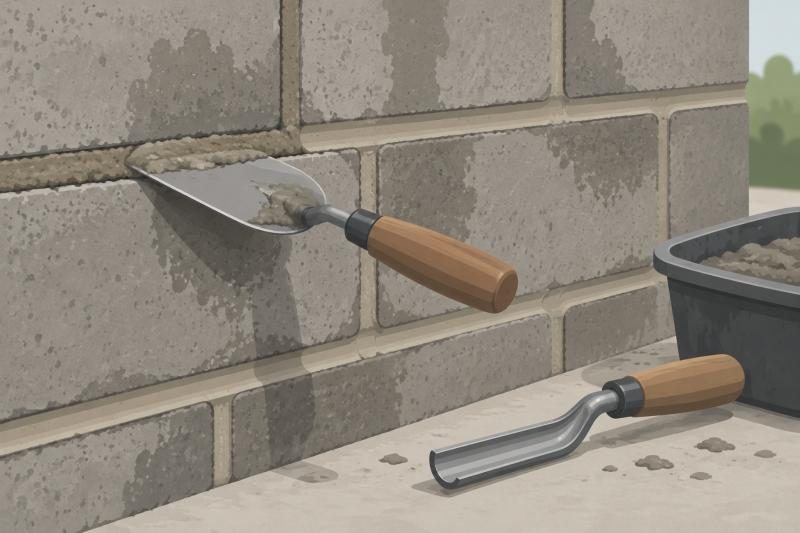
Repoint joints and patch holes. Mix Type N mortar with clean water to a workable, putty-like consistency (QUIKRETE's mix calls for about 3-3/4 quarts of water per 60-lb bag, mixed at least 5 minutes). Rake out crumbling mortar joints, dampen them, and pack in fresh mortar with a margin trowel. Fill holes and broken corners the same way, then tool the joints with a jointer. Let repairs set up firm before coating over them, and protect fresh mortar from freezing for the first 48 hours.
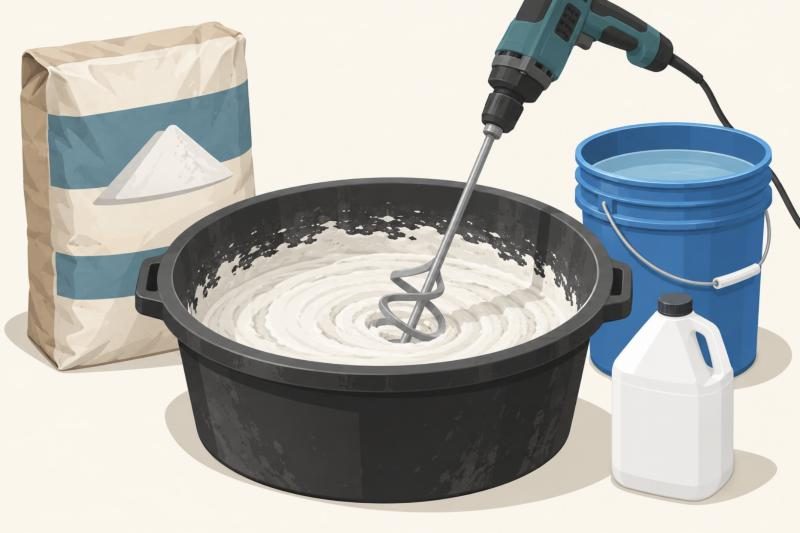
Mix one bag at a time. Pour 1 gallon of clean water per 50-lb bag into the tub, then add the powder to the water gradually while running the drill and paddle. Powder goes into the water, never the other way around. Adjust with small amounts of water until it's thick and creamy, but never go past 1-1/2 gallons per bag. Stop at 3 minutes. Overmixing breaks up the glass fibers that give the coat its strength. You get roughly 40 minutes of working time, so don't mix more than you can put on, and never add water to a batch that has started to stiffen.
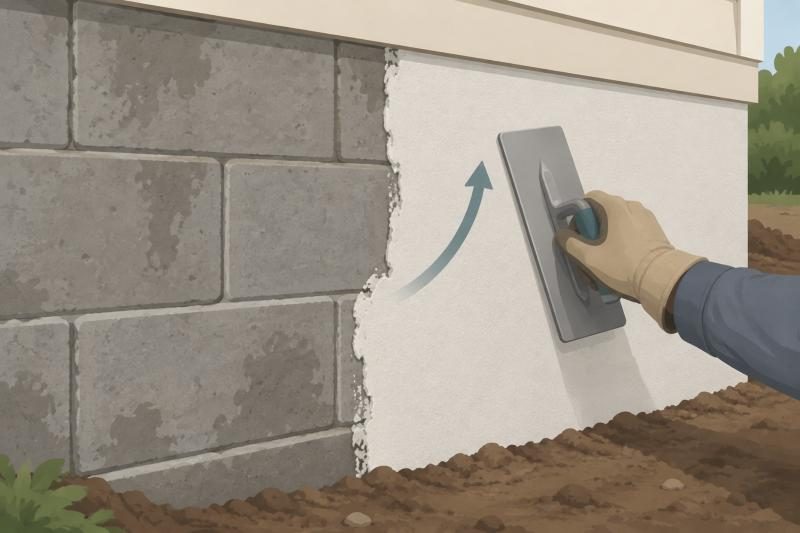
Trowel on a 1/8-inch coat. Load the finishing trowel and work from the bottom of the wall to the top with upward, sweeping strokes. Press the material into joints, cracks, and rough spots so it locks onto the wall. Add your texture or swirl as you go. Once the coat starts to set, leave it alone; going back over partly set material ruins the finish. If you want a thicker build, let the first coat set, dampen it, and apply a second coat the same way.
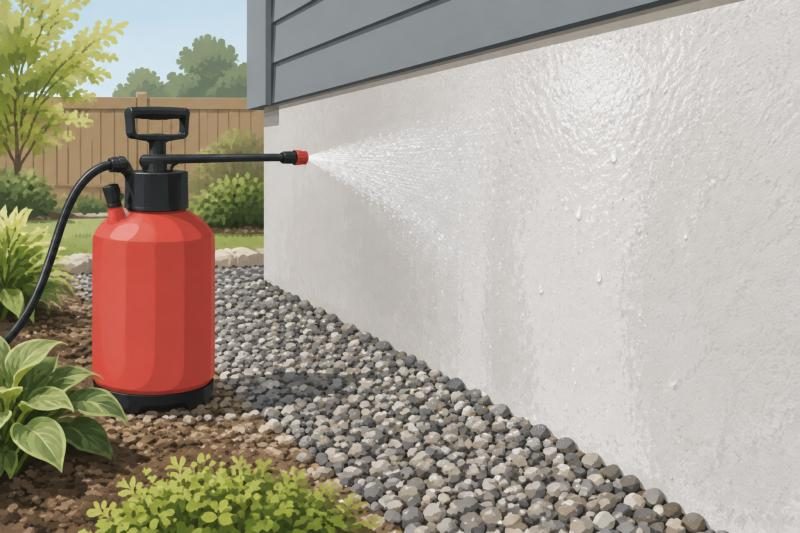
Fog-cure the coat. Once the coat reaches final set (firm and hard, usually several hours after you finish), mist it lightly with a pump sprayer. A fine fog, not a soaking. A coat this thin dries out fast, and the mist keeps enough water in it to cure properly. It reaches full strength over about 28 days, so keep mulch, soil, and sprinklers off it in the meantime.
The one rule about the mix
Only clean water goes in the batch, unless the manufacturer specifically documents an additive for that product. It's tempting to throw in a bonding agent or a latex fortifier "for good measure," but adding anything the maker doesn't call for changes the formula and can weaken the coat. If your wall needs a modified mix (brick, for example), use the exact additive and ratio the manufacturer lists for that product.
Common mistakes we see
- Coating a dry wall. The block soaks the water out of the mix and the coat crazes and powders.
- Coating over loose material or paint. The new coat is only as strong as what's under it.
- Mixing too long or too wet. More water and more mixing feel easier but make a weaker coat.
- Reworking it after it starts to set. Leave the texture you got and move on.
- Skipping the cure. A thin coat left to bake in the sun or wind dries before it hardens.
- Expecting it to stop a leak. If water is getting through the wall into the crawl space or basement, parging won't fix it.
When to call a pro
Bring someone in if you see:
- Cracks that are wider than a pencil line, stair-stepped through the block, or growing.
- A wall that bows, leans, or has shifted. That's a structural issue for an engineer and a foundation contractor, not a parge coat.
- Water or dampness on the inside of the foundation wall.
- Brick or painted foundations where the prep or the modified mix is more than you want to take on.
Parging is also a common pre-listing and inspection repair. A fresh coat makes a foundation look cared for in listing photos, and we can usually handle it alongside the rest of a repair list.